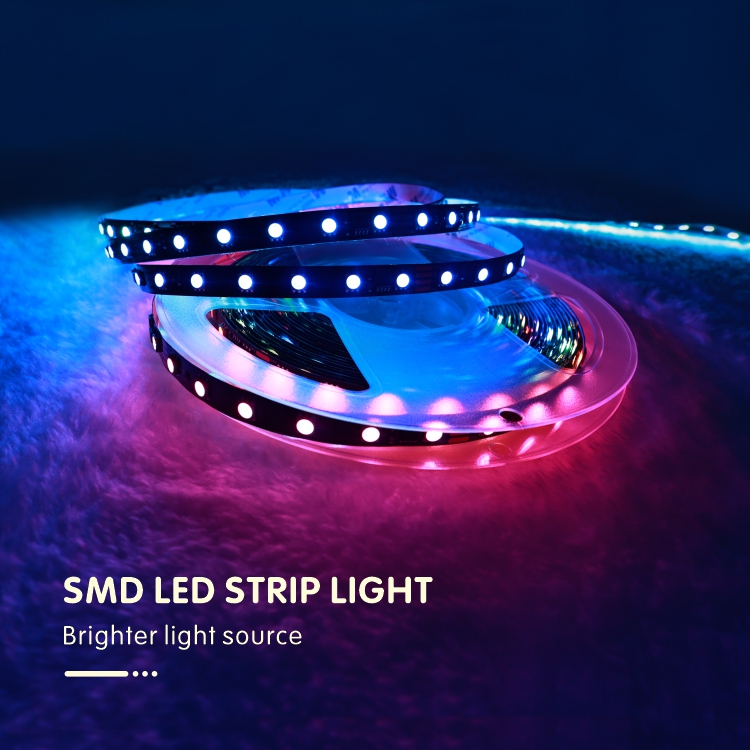
In order to provide a comprehensive guide to help you understand how to cut and connect RGB LED strip lights, and how they work, the following are detailed steps and information.
Contents of this guide:
How to cut RGB LED strip lights?
1. Confirm the cuttable position:
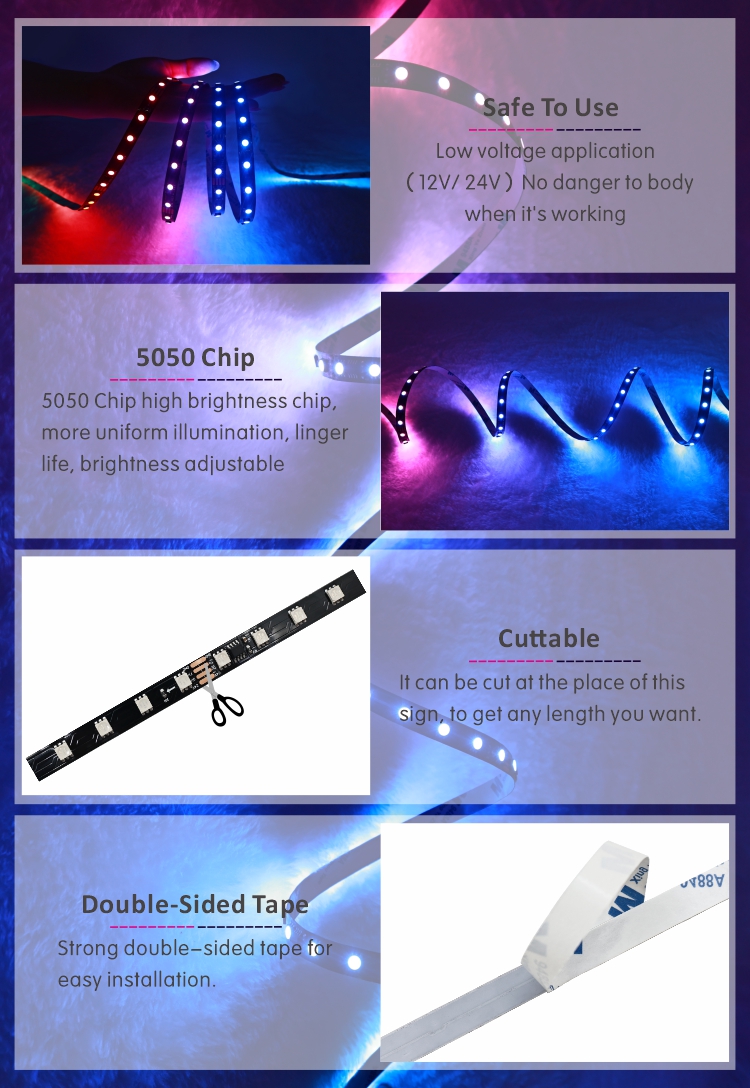
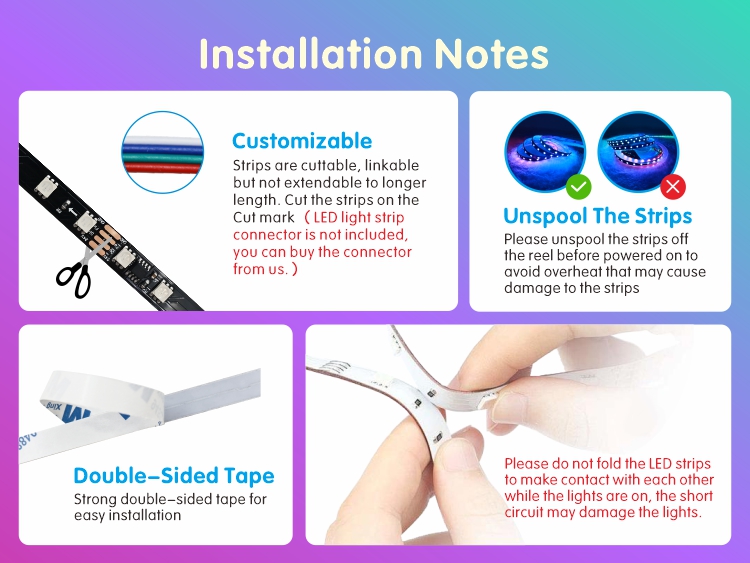
• Most RGB LED strips have a mark between each LED unit or every three LEDs, indicating where it is safe to cut. Make sure to cut only at these marks to avoid damaging the circuit.
2. Prepare tools:
• Use scissors or a utility knife as a cutting tool. Make sure the tool is sharp so that the strip can be cut cleanly.
3. Power-off operation:
• Before any operation, be sure to turn off all power supplies and use a voltage tester to verify that there is no residual voltage.
4. Cut along the mark:
• Carefully cut along the cutting mark on the strip. Keep the cut surface flat to avoid damaging the internal circuit.
5. Check the cut surface:
• Make sure the edges after cutting are neat and burr-free to avoid affecting the quality of subsequent connections.
How do you wire RGB strips?
• Choose the right connector: Choose a matching connector according to the type of your strip (such as male-female plug-in connector).
• Insert the connector: Insert the strips at both ends into the corresponding male and female connectors respectively, making sure that the positive and negative poles and data lines correspond correctly.
•Fixed connector: Some connectors have built-in locking design to ensure a secure connection; if not, you can use insulating tape to reinforce it.
Soldering connection
•Wire stripping: Use wire strippers to gently strip a small section of the wire sheath to expose the metal part.
•Soldering: Solder the corresponding pins (positive and negative poles and data lines) of the two sections of the light strip after docking, and pay attention to keep the welding points smooth and without cold solder joints.
•Insulation protection: After welding, immediately wrap the welding points with heat shrink tubing to prevent short circuits and enhance mechanical strength.
How do RGB light strips work?
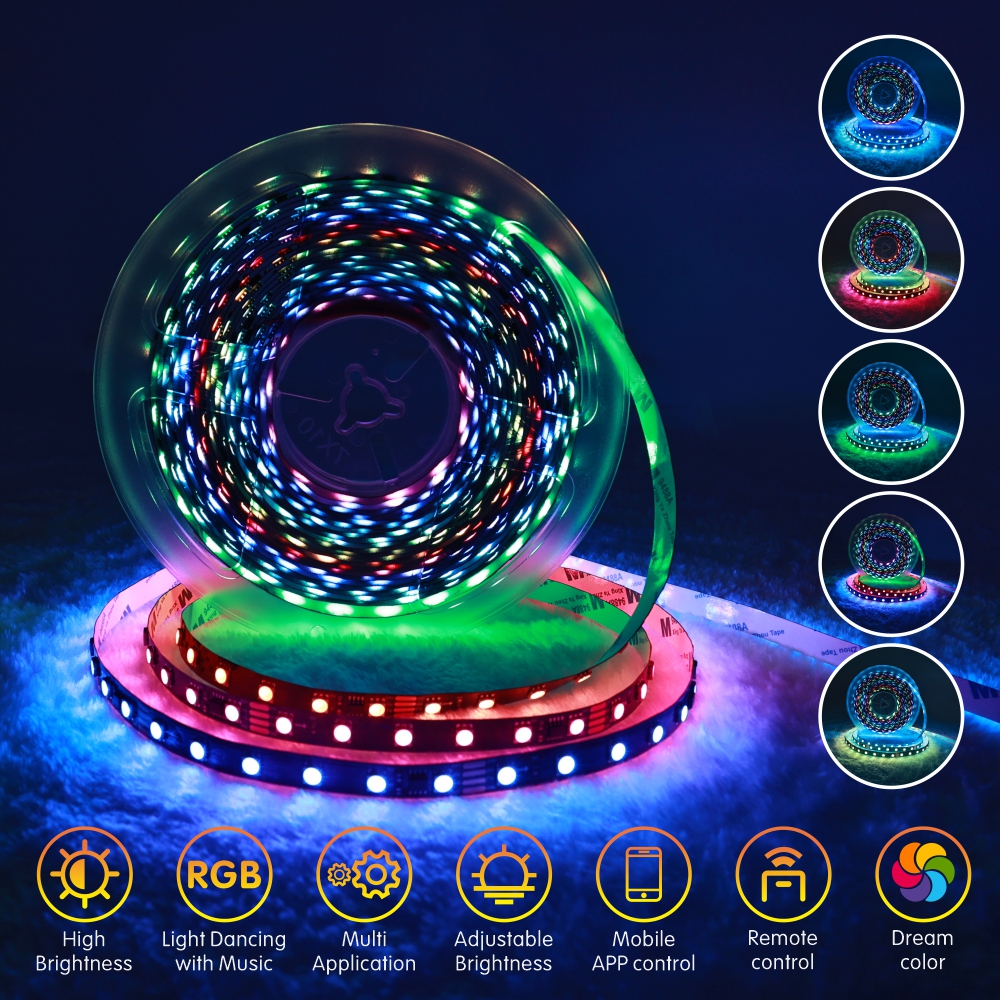
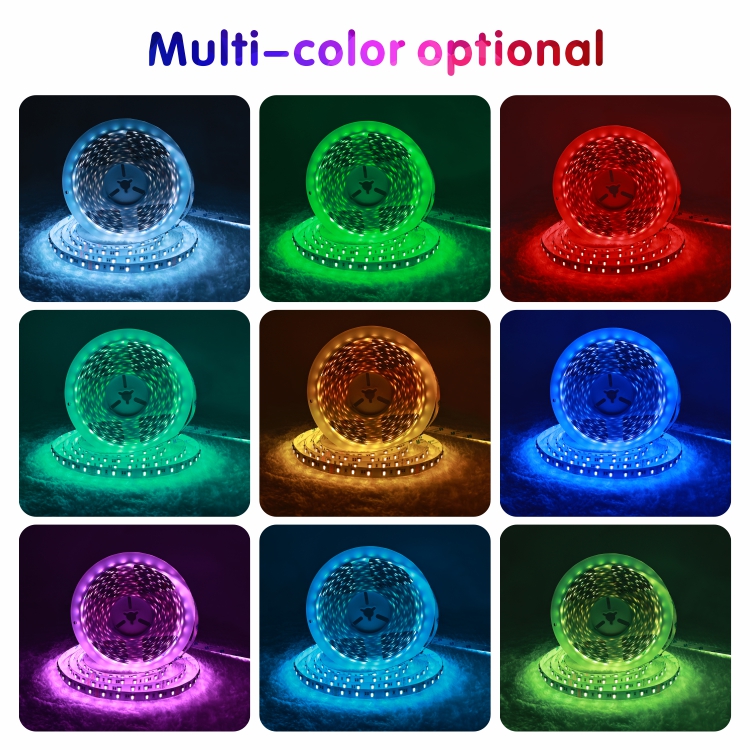
RGB LED light strips are composed of three colors of LEDs: red, green and blue. By controlling different combinations and brightness ratios of these three colors, a variety of color effects can be produced. Usually, RGB light strips require a controller to adjust the color, brightness and dynamic effects of the light. The controller receives signals from a remote control or other input device and adjusts the current output to the light strip accordingly to achieve color changes.
How do you connect RGB LED strip lights together?
1. Determine the connection method:
• If the RGB strips are of the same type, you can directly connect them end to end using connectors or soldering methods.
• For different types of strips or when extension is required, you may need to use additional wires to bridge the connection.
2. Ensure electrical continuity:
• Regardless of the connection method, the positive (+), negative (-) and data lines (DIN/DOUT) must be properly connected to maintain the normal operation of the entire system.
3. Consider power limitations:
• When connecting multiple strips, make sure the total length does not exceed the maximum load capacity of the power adapter. If it exceeds, you need to supply power in sections or use a higher power supply.
4. Waterproof treatment:
• If it is used outdoors or in a humid environment, waterproof all connection points, such as using sealant or waterproof tape.
5. Test and adjust:
• After the connection is completed, reconnect the power supply, turn on the switch, and observe whether the strip works normally and whether the color changes smoothly. If there is a problem, troubleshoot and correct it in time.
If your RGB LED strip does not light up:
Wire color is not always important! Make sure to run the positive side of the flex strip down through the solderless connector wires to the power source. Red/black can mean (+) or (-) depending on which side of the LED flex strip you attach the connector to. For RGB installations, make sure the connector is installed correctly and the correct colors are connected to the correct terminals.
Another common problem is that the solderless connector may be installed upside down; repeat the above steps and try again.
Also, make sure the tray is completely closed on the solderless connector. Be gentle!
Check your power supply to make sure it is connected correctly and that the (+) and (-) are also correct.
Summary By following the above steps, you can safely and effectively cut and connect RGB LED strips to create satisfying lighting effects. Always follow the specific guidelines provided by the manufacturer and take the necessary safety precautions. If you have specific project needs or encounter any problems, you can directly consult the customer service or professional electrician of the relevant product for further help and support.
Now that you understand how to cut and connect RGB LED strips, choosing the right RGB LED strip lighting manufacturer is essential to achieving the effect you want. Aglare Lighting is a trusted LED strip manufacturer.
