

Please click on the upper right corner
Share it with your circle of friends
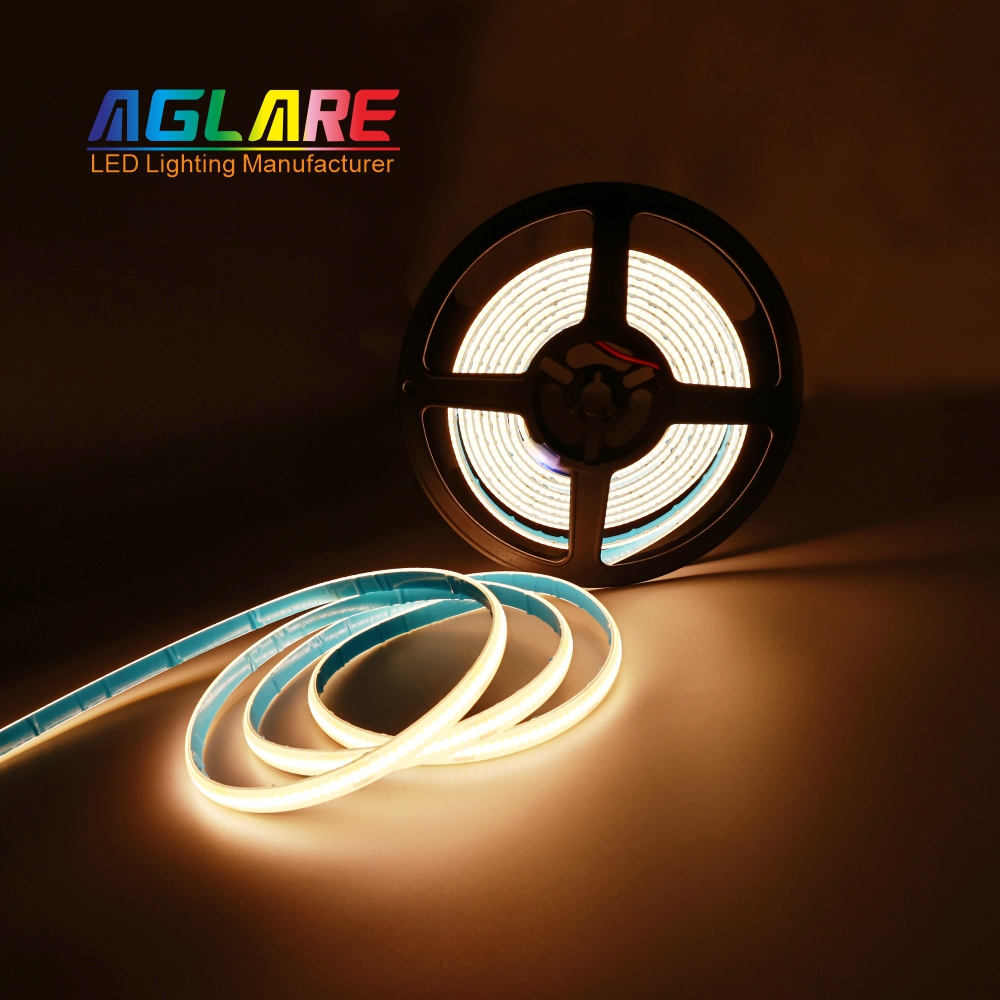
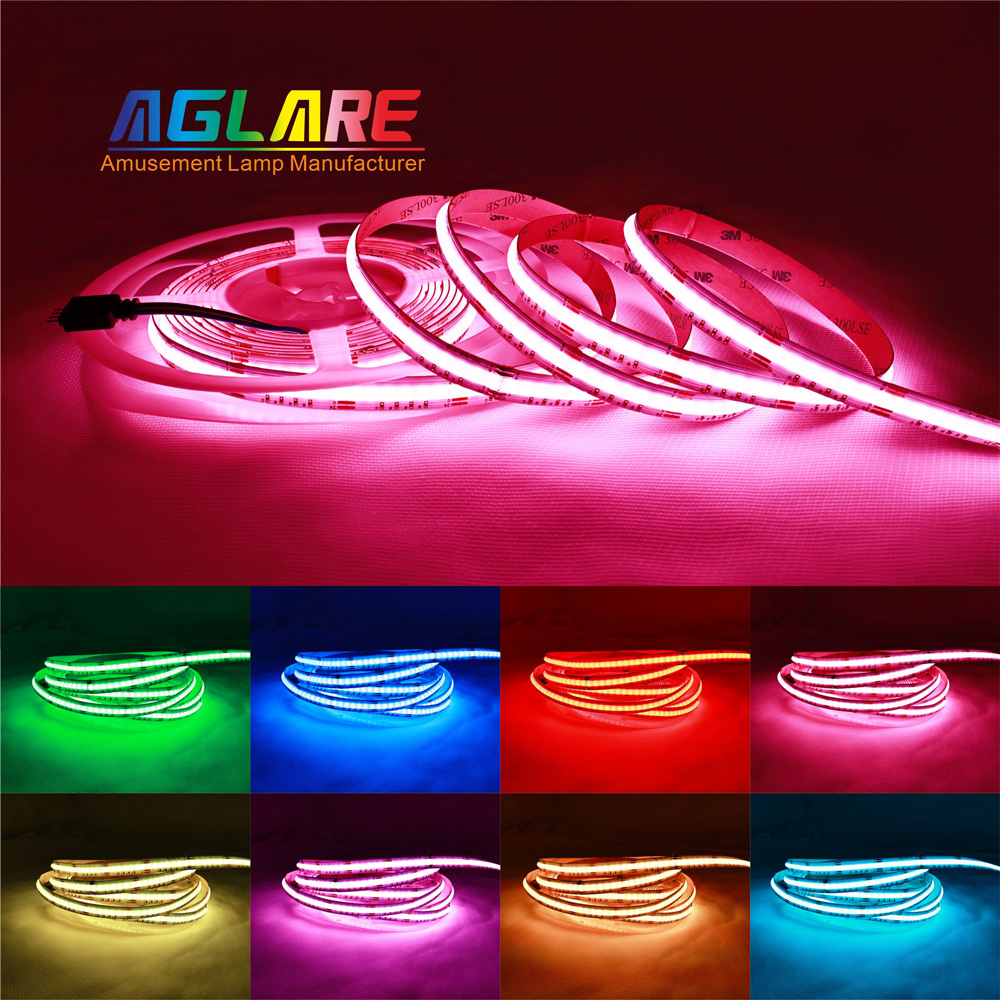
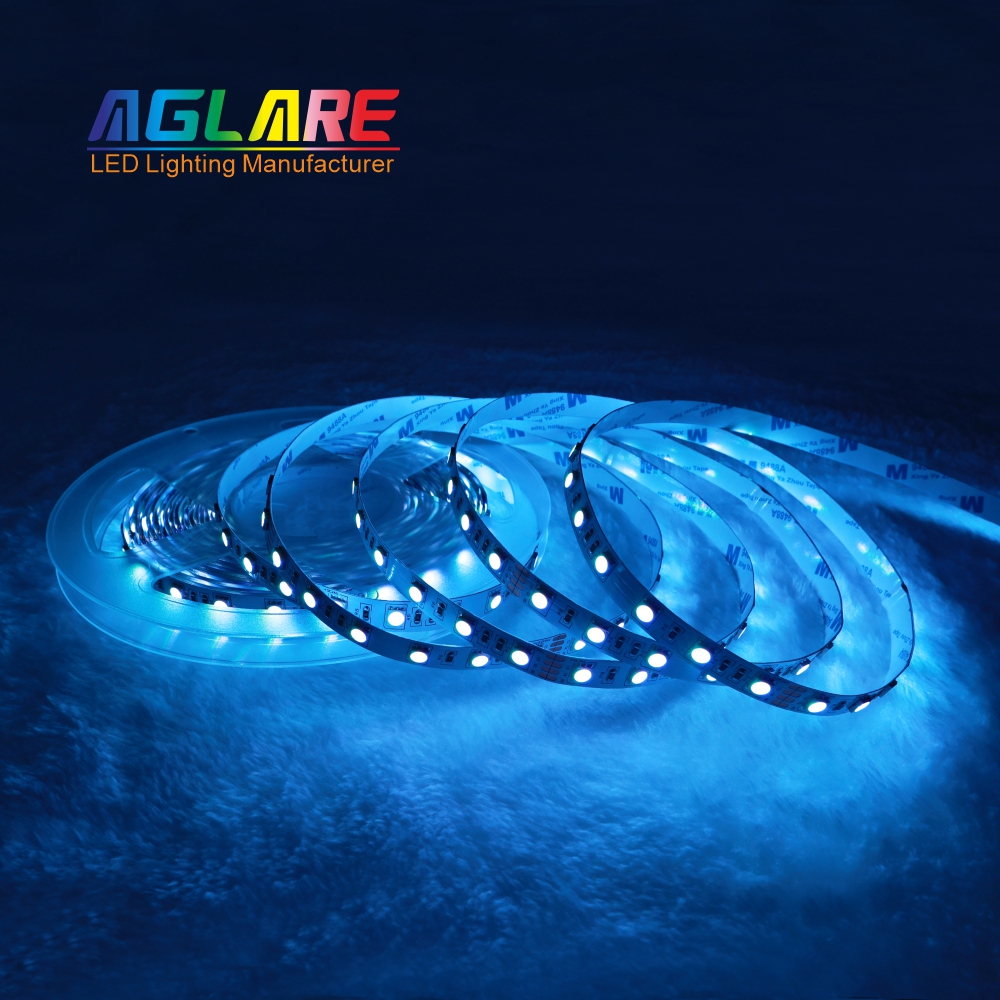
In modern home decoration, bedroom, cabinet lighting, LED light strips have become the choice of more and more families with their energy-saving, environmental protection, and beautiful features. However, correctly wiring LED light strips is the key to ensuring their normal operation and extending their service life. The following are detailed wiring steps and precautions to help you complete the installation smoothly.
 |
 |
 |
1. Preliminary preparation
Check the lamps: Before installation, make sure that the LED light strips are intact, especially the light strips and power supplies.
Plan the route: According to the installation location, plan the wiring and installation route of the light strips, and estimate the required height and distance.
Prepare tools: Prepare the tools required for installation, such as power adapters, wire connectors, scissors or cutting tools, insulating tape, electric soldering irons and solder, wire strippers, cable ties, etc.
2. Steps for wiring LED strip light
Step 1: Prepare the strip light
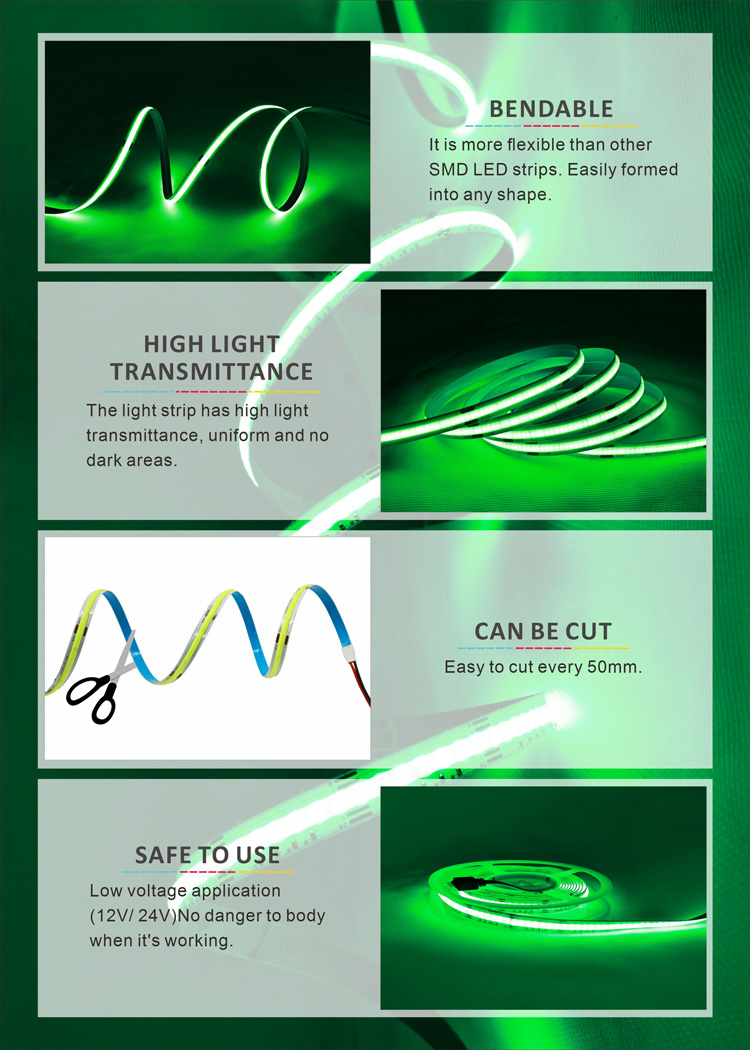
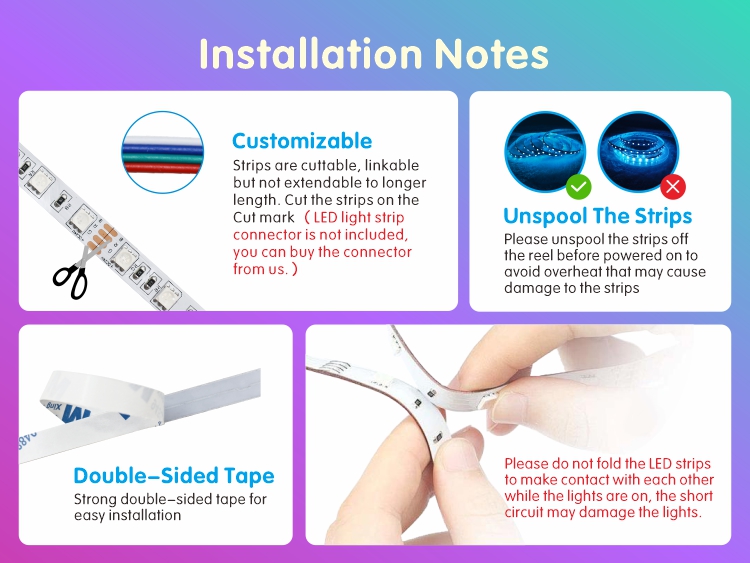
• Measure the length: Determine the length of the light strip you need and cut it at the marked position. Most LED strip light have preset cutting points, usually one cutting point every 3 LEDs.
• Stripping: Use wire strippers to strip the insulation of the power cord, exposing about 5-10 mm of wire.
Step 2: Connect the power supply
• Identify the positive and negative poles: There are usually markings on the LED light strip to indicate the positive (+) and negative (-). Make sure the positive pole of the power supply is connected to the positive pole of the light strip, and the negative pole is connected to the negative pole of the light strip.
• Use connectors:
• Quick connector: Insert the power cord into one end of the quick connector, and then insert the pin of the light strip into the other end. Make sure the connection is firm.
• Soldering connection: Solder the power cord to the pin of the light strip. First heat the pin with an electric soldering iron, then melt the solder and fix it on the pin. Make sure the soldering point is firm and there is no short circuit.
• Insulation treatment: Use insulating tape to wrap the connection to ensure that there is no exposed wire.
Step 3: Install the light strip
• Paste the light strip: Most LED strip light have self-adhesive adhesive on the back, which can be directly pasted on a clean and dry surface. Make sure the surface is flat for the best pasting effect.
• Organize the wires: Use cable ties to organize excess wires and keep them neat.
3. Notes
• Power supply matching: Make sure the voltage and current of the power adapter match the requirements of the LED light strip. Excessive voltage may damage the light strip, while insufficient current will result in insufficient brightness.
• Waterproof treatment: If the light strip is installed in a humid environment, make sure all connections are waterproof. You can use waterproof connectors or waterproof tape.
• Safe operation: During the connection process, make sure the power is turned off to avoid the risk of electric shock.
• Testing: After completing the connection, conduct a small-scale test to confirm that the light strip is working properly before full installation.
With the above steps, you can successfully connect the LED light strip. If you are not familiar with electrical operations, it is recommended to ask a professional electrician or technician to install it to ensure safety and correctness.